Gathering Supplies and Essential Tools
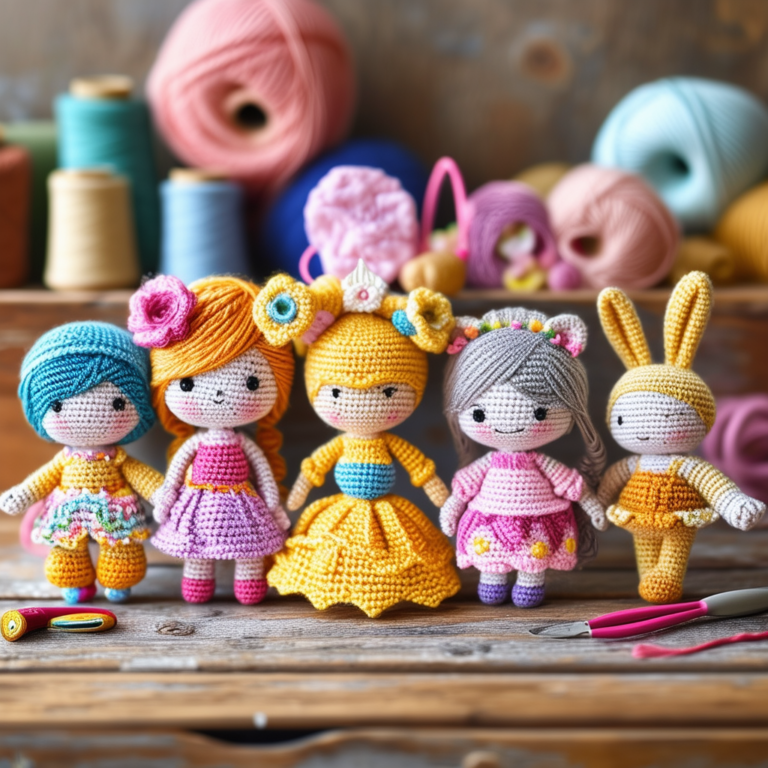
Embarking on the delightful journey of crafting your own crochet doll can be a rewarding experience, particularly for beginners. However, before you begin stitching, it’s crucial to gather the necessary supplies and tools. This ensures a smooth and efficient crafting process, minimizing frustration and maximizing enjoyment. First and foremost, you’ll need yarn. The choice of yarn significantly impacts the final look and feel of your doll. Acrylic yarn is a popular choice for beginners due to its affordability and ease of use; its smooth texture makes it less prone to snagging. However, cotton yarn offers a softer, more natural feel, although it can be slightly more challenging to work with. Consider the desired texture and overall aesthetic of your doll when making your selection. A variety of colors will allow for creative expression in clothing and accessories.
In addition to yarn, you’ll need a crochet hook. The size of the hook is directly related to the weight of the yarn; the yarn label will usually specify the recommended hook size. Using the incorrect hook size can lead to a doll that is too loose or too tight, affecting its overall appearance and structural integrity. It’s advisable to start with a medium-sized hook (around a size H/8 or I/9) as this provides a good balance between ease of use and stitch definition. Furthermore, having a few different hook sizes on hand can be beneficial for creating various details, such as smaller features or intricate clothing elements. Beyond the hook, you’ll need a pair of scissors. Sharp scissors are essential for cleanly cutting the yarn, preventing frayed ends and ensuring a professional finish. A tapestry needle is another indispensable tool. This blunt-ended needle is specifically designed for weaving in loose ends, a crucial step in completing your doll and preventing unraveling.
Moving beyond the basic necessities, several optional tools can significantly enhance your crafting experience. Stitch markers, small rings or clips used to mark specific points in your pattern, are incredibly helpful for navigating complex stitch patterns and ensuring accuracy. These are particularly useful when working with intricate designs or creating multiple parts of the doll simultaneously. Similarly, a yarn needle, slightly larger than a tapestry needle, can be useful for sewing on buttons, embroidering facial features, or attaching hair. Finally, stuffing material is essential for giving your doll its three-dimensional form. Polyester fiberfill is a popular choice due to its softness, affordability, and ease of use. It’s lightweight yet provides sufficient structure to create a well-proportioned doll. Alternatively, cotton stuffing can be used, offering a slightly firmer and more natural feel.
In conclusion, while the core supplies are relatively straightforward, careful consideration of yarn type, hook size, and optional tools can significantly impact the quality and enjoyment of your crochet doll project. By assembling these essential items beforehand, you’ll be well-prepared to embark on your creative journey, ensuring a smooth and satisfying experience from start to finish. With the right tools and materials at your disposal, you’ll be well on your way to crafting a unique and cherished handmade doll.
Mastering Basic Crochet Stitches for Dolls
Mastering Basic Crochet Stitches for Dolls
Embarking on the creation of a crocheted doll can seem daunting, particularly for beginners. However, with a methodical approach and a focus on fundamental stitches, the process becomes surprisingly manageable. This guide will walk you through the essential techniques, providing a solid foundation for your doll-making journey. To begin, you’ll need to familiarize yourself with the basic crochet stitches: the slip knot, chain stitch, single crochet, and increase and decrease stitches. These form the building blocks of almost any crocheted doll.
First, you’ll need to create the slip knot, the foundation of any crochet project. This simple loop on your hook serves as the starting point for your chain. From the slip knot, you’ll then create the chain stitch, a series of loops formed by yarn over and pulling through the previous loop. The chain stitch not only establishes the foundation row for many patterns but also serves as a crucial element in shaping various doll parts. For instance, the length of your foundation chain will determine the circumference of the doll’s head or the length of its limbs. Accuracy in this step is paramount, as any inconsistencies will be reflected in the final product.
Next, we move on to the single crochet stitch, arguably the most frequently used stitch in doll making. This stitch creates a dense, sturdy fabric ideal for the body and limbs of your doll. The single crochet involves inserting your hook into the designated stitch, yarn over, and pulling through a loop. You then yarn over again and pull through two loops on your hook. Repeating this process across the row creates a neat, even fabric. Practice this stitch until you can execute it smoothly and consistently, as this will significantly impact the overall appearance of your doll. Furthermore, mastering the single crochet will lay the groundwork for understanding more complex stitches later on.
Increases and decreases are essential for shaping your doll’s features and creating curves. Increases involve creating two single crochets in a single stitch, effectively adding stitches and expanding the fabric. Conversely, decreases involve combining two stitches into one, reducing the number of stitches and creating a tapering effect. These techniques are crucial for shaping the doll’s head, narrowing the limbs, and creating the gentle curves of the body. Precise increases and decreases are vital for achieving a well-proportioned and aesthetically pleasing doll. Experiment with these techniques on small practice squares before applying them to your doll pattern to gain confidence and refine your technique.
Finally, remember that consistency is key. Maintaining a consistent tension throughout your work is crucial for creating a neat and professional-looking doll. Too tight a tension can result in a stiff, inflexible doll, while too loose a tension can lead to a floppy, shapeless one. Strive for a consistent tension that allows for a slight give in the fabric. With practice, you’ll develop a feel for the right tension, resulting in a beautifully crafted doll. By mastering these fundamental stitches and paying attention to detail, you’ll be well-equipped to tackle more complex doll patterns and create your own unique crocheted creations. The journey may require patience and persistence, but the satisfaction of crafting your own doll is undoubtedly rewarding.
Creating the Doll’s Body and Facial Features
Creating the doll’s body forms the foundation of your crochet project, and achieving a pleasing shape requires careful attention to technique. Begin by choosing a yarn weight appropriate for your desired doll size; finer yarns will yield smaller, more delicate dolls, while thicker yarns create larger, more robust figures. Similarly, your hook size should correspond to your yarn choice; using a hook too large will result in a loose, floppy body, while a hook that’s too small will create a tight, inflexible one. Many patterns provide specific yarn and hook recommendations, but experimentation is key to finding your preferred combination.
Once you’ve gathered your materials, you can start constructing the body. Most crochet doll patterns begin with a magic ring or a chain foundation, creating the base for the head. From there, you’ll typically work in increasing rounds to form a sphere. It’s crucial to maintain consistent tension throughout this process; uneven tension will lead to an asymmetrical head, detracting from the doll’s overall appearance. Counting your stitches meticulously in each round is essential to ensure accuracy. Furthermore, paying close attention to the pattern’s instructions regarding increases and decreases is vital for achieving the desired head shape. A slightly elongated head can be corrected by adjusting the number of increases in subsequent rounds.
After completing the head, the body is usually crocheted in a similar manner, starting from the neck. This section often involves working in increasing rounds to create the shoulders and then transitioning to straight rows to form the torso. The length of the torso is determined by the pattern, but you can always adjust it slightly to suit your preferences. Remember to maintain consistent tension throughout the body construction, just as you did with the head. This will ensure a smooth, even surface and prevent any noticeable bumps or irregularities. If you encounter any difficulties, such as uneven stitches or a distorted shape, it’s often helpful to unravel a few rounds and start again, paying closer attention to your technique.
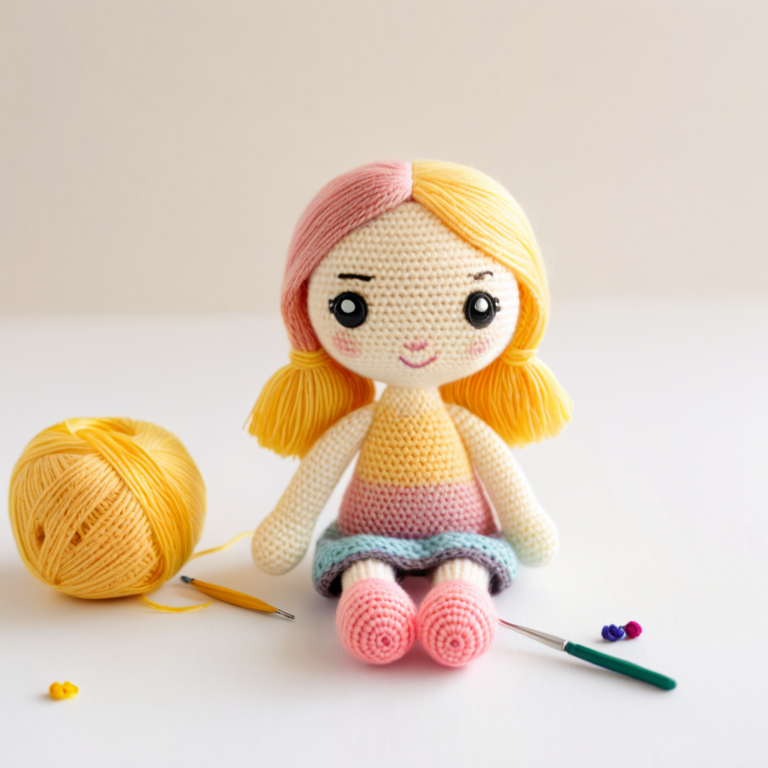
With the body complete, the focus shifts to the facial features. These are often the most delicate and time-consuming aspects of the project. Many crocheters use embroidery floss for the eyes, mouth, and other details, as it provides a fine level of precision. Before embroidering, it’s advisable to lightly mark the placement of the features with a washable fabric marker. This will help ensure symmetry and prevent accidental misplacement. When embroidering, use small, even stitches to create clean, defined features. Experiment with different stitch types to achieve the desired expression; a simple backstitch is often sufficient for the eyes and mouth, while French knots can add dimension and texture.
Adding blush to the cheeks can further enhance the doll’s appearance. This can be achieved using fabric paint or embroidery floss in a suitable shade. Apply the blush sparingly, building up the color gradually to avoid an unnatural look. Remember that less is often more when it comes to facial features; subtle details can be more effective than overly prominent ones. Finally, once all the facial features are complete, allow the paint or embroidery to dry completely before handling the doll to prevent smudging or damage. With careful attention to detail and a steady hand, you can create a charming and expressive face that brings your crocheted doll to life.

