“
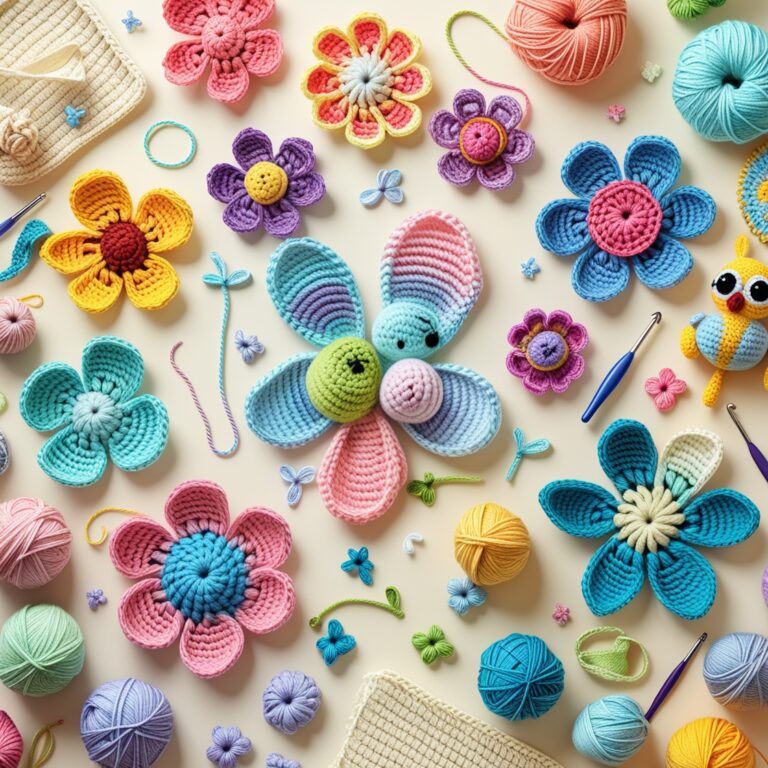
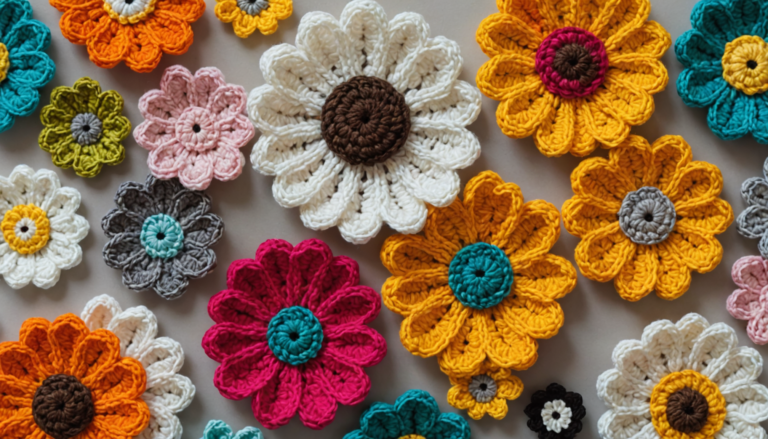
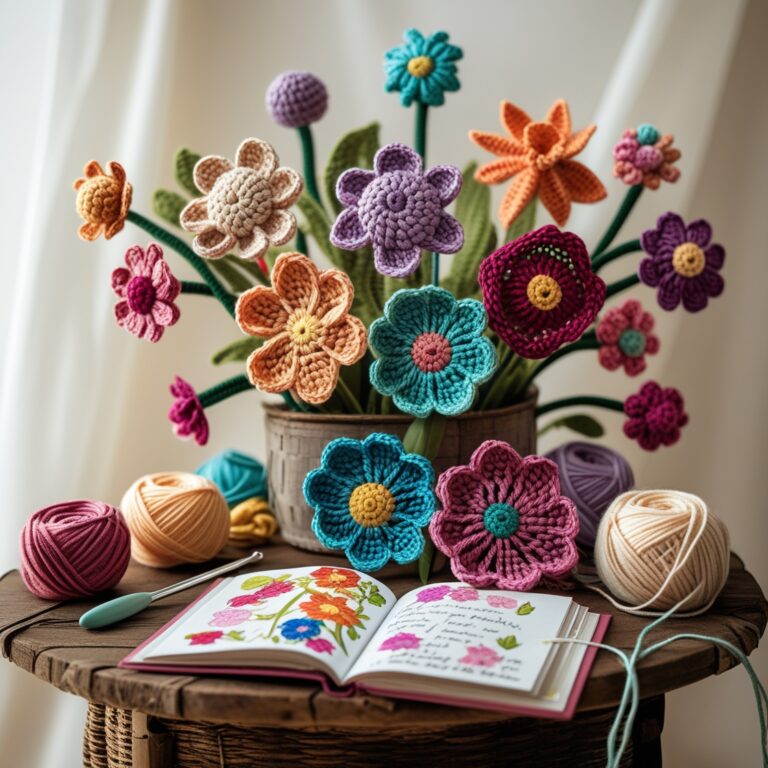
Welcome to the enchanting world of crocheted flowers! With a little practice and the right techniques, you can create stunning floral decorations to brighten your home, delight loved ones with thoughtful gifts, or add a unique touch to your fashion projects. This guide will walk you through the essential steps, from mastering basic stitches to embellishing your creations.
Essential Crochet Stitches for Crochet Flowers
Before diving into intricate patterns, let’s solidify our foundation with the essential crochet stitches:
-
Chain Stitch (ch): The cornerstone of crochet, the chain stitch forms the base of many projects. It’s used to create the foundation rounds of your flowers and connects different parts of the pattern. Think of it as the thread that ties everything together.
-
Single Crochet (sc): This tight, dense stitch is perfect for creating the solid base of petals or the center of your flower. It’s a great stitch for beginners to master.
-
Half Double Crochet (hdc): Slightly taller than the single crochet, the half double crochet offers versatility. It’s often used to create textured petals or to add height and dimension to your designs.
-
Double Crochet (dc): This stitch creates a taller, more prominent loop than the hdc, resulting in a fuller, more textured petal. It’s ideal for creating voluminous and visually appealing flowers.
-
Treble Crochet (tr): The treble crochet is the tallest of the common stitches, creating airy and fluffy petals. It’s perfect for adding a touch of whimsy and volume to your designs. Experiment with combining different stitch heights to create depth and visual interest in your flower petals.
Mastering the Magic Circle Technique
The magic ring (or magic circle) is a crucial technique for creating seamless, hole-free centers in your crocheted flowers. It avoids the unsightly hole often found when starting with a chain ring. Here’s a step-by-step guide:
-
Make a Loop: Wrap the yarn around your index and middle fingers, creating a small loop.
-
Insert Hook: Insert your crochet hook through the loop.
-
Yarn Over: Yarn over your hook.
-
Pull Through: Pull a loop of yarn through the loop on your fingers.
-
Chain One: Chain one to secure the loop.
-
Work Stitches: Now work the specified number of stitches (usually single crochet or half double crochet) into the ring.
-
Tighten: Gently pull the tail end of the yarn to close the ring. You’ll now have a perfectly formed base for your crochet flower!
Creating Different Types of Crochet Flowers
The beauty of crocheted flowers lies in their versatility. Let’s explore a few examples:
Layered Petal Flower Tutorial
This tutorial creates a classic, layered flower with multiple rows of petals.
Round 1: Create a magic ring and work 6 single crochet stitches into the ring. Slip stitch to join.
Round 2: Chain 2 (counts as a double crochet), 2 double crochet in each stitch around. Slip stitch to join.
Round 3: Chain 2, 2 double crochet in the next stitch, 1 double crochet in the next stitch. Repeat from * to * around. Slip stitch to join.
Round 4 and beyond: Continue adding rows, increasing or decreasing stitches as desired to create the layered effect. You can change colors in each round for a vibrant, multi-colored flower.
Simple Poppy Flower Pattern
This pattern creates a charming poppy flower.
Round 1: Create a magic ring and work 6 single crochet stitches into the ring. Slip stitch to join.
Round 2: Chain 1 (counts as a single crochet), 2 single crochet in each stitch around. Slip stitch to join.
Round 3: Chain 1, single crochet in the next stitch, 2 single crochet in the next stitch. Repeat from * to * around. Slip stitch to join.
Round 4: Chain 1, single crochet in each stitch around. Fasten off.
Two-Tone Crochet Flower
This design showcases the beauty of color combinations.
Round 1: Create a magic ring using your first color and work 6 single crochet stitches into the ring. Slip stitch to join.
Round 2: Change to your second color. Chain 1, 2 single crochet in each stitch around. Slip stitch to join.
Round 3: Continue alternating colors in subsequent rounds, increasing or decreasing stitches as needed to create your design.
Adding Embellishments to Your Crochet Flowers
Once you’ve mastered the basic flower patterns, consider adding embellishments to elevate your designs:
-
Beads: Carefully weave beads into the stitches while working a round, adding sparkle and texture.
-
Buttons: Sew on buttons to create a unique center or to add decorative elements to the petals.
-
Embroidery: Add delicate embroidery details to the petals using contrasting thread colors. This can create intricate designs and add visual interest.
Project Ideas for Your Crochet Flowers
The applications for your handmade crochet flowers are endless! Consider these ideas:
-
Home Decor: Create stunning flower garlands, wall hangings, or embellish cushions and throws.
-
Gifts: Make unique hair clips, brooches, or embellish gift bags and boxes.
-
Fashion: Add crochet flowers to hats, scarves, bags, or even clothing for a personalized touch.
Conclusion: Unleash Your Creativity!
Creating crocheted flowers is a rewarding and enjoyable craft. By mastering the basic stitches, the magic circle technique, and experimenting with different patterns and embellishments, you’ll be able to craft beautiful, unique flowers for a variety of projects. So grab your hook and yarn and let your creativity bloom! Remember to share your creations – the crochet community thrives on inspiration and sharing!
“

